EN
English
ES
Spanish
Let’s Copilot – Microsoft Teams Store
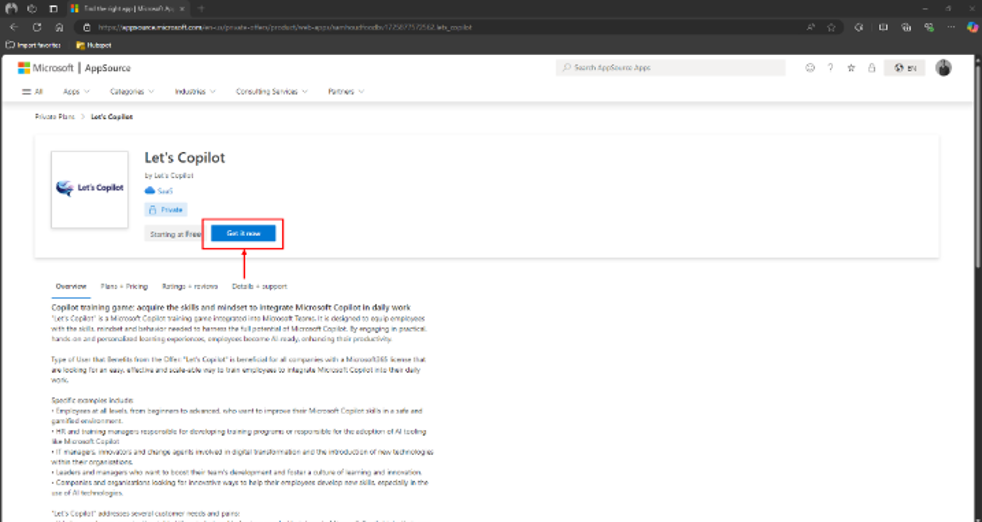
Step 1:
Once you open https://windows.com you’ll be able to find Let’s Copilot in the search console or by following this link: Link to Let’s Copilot. Here you can click on the ‘Get it now’ button. Check whether you are logged in with the correct email address (preferably the global Microsoft license administrator) linked to the right tenant!
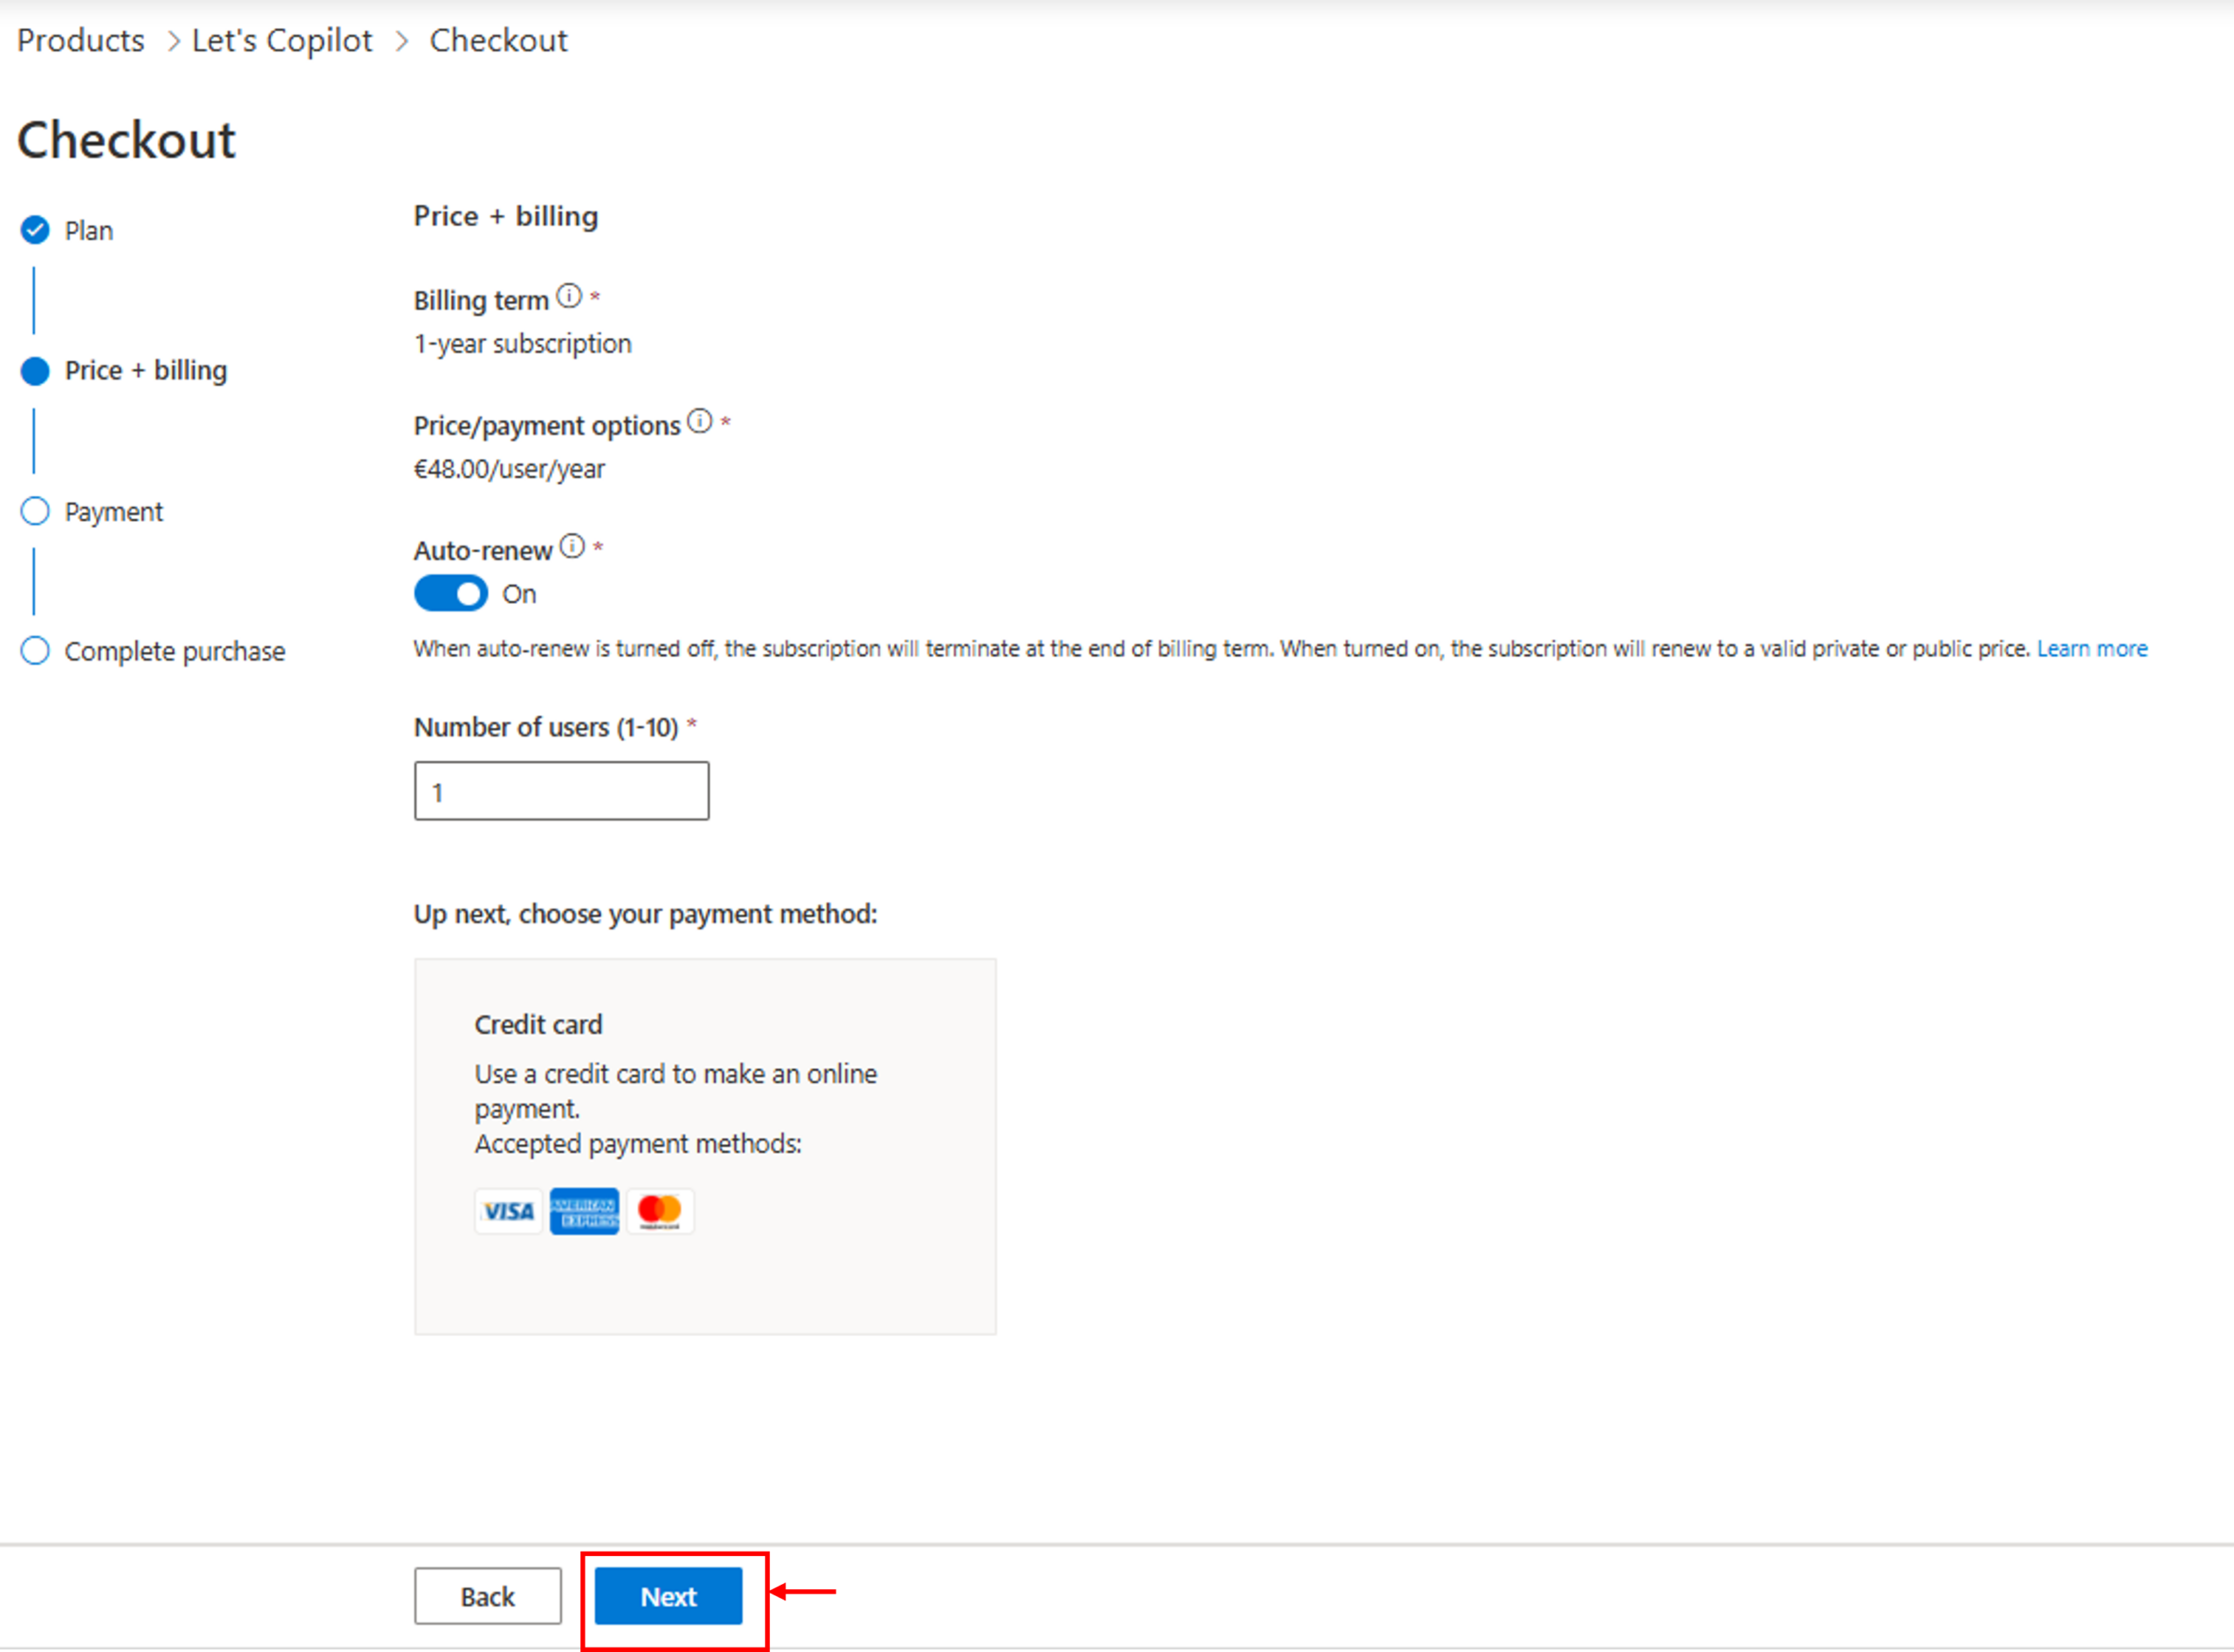
Step 2:
Back in the Microsoft Teams Store, you now click on the ‘buy a subscription’ button. After setting your billing country/region to the country which your Microsoft account’s billing country/region, you’ll be able to choose your preferred subscription.

Step 3:
Fill in your credit card details. Once you filled in your credit card details, you will be able to place your order!
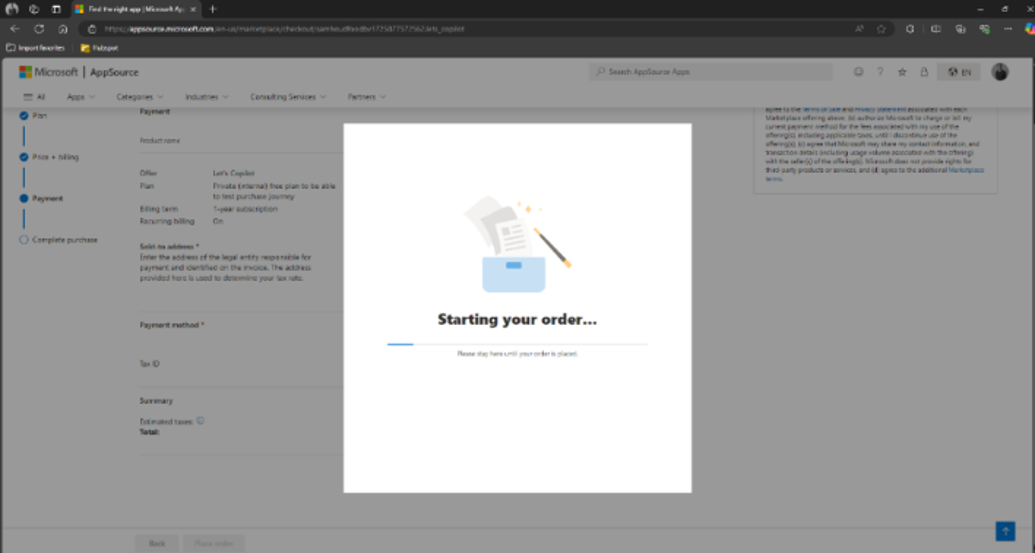
Step 4:
Once you have filled in your details, you will now be able to place your order. This might take a minute.
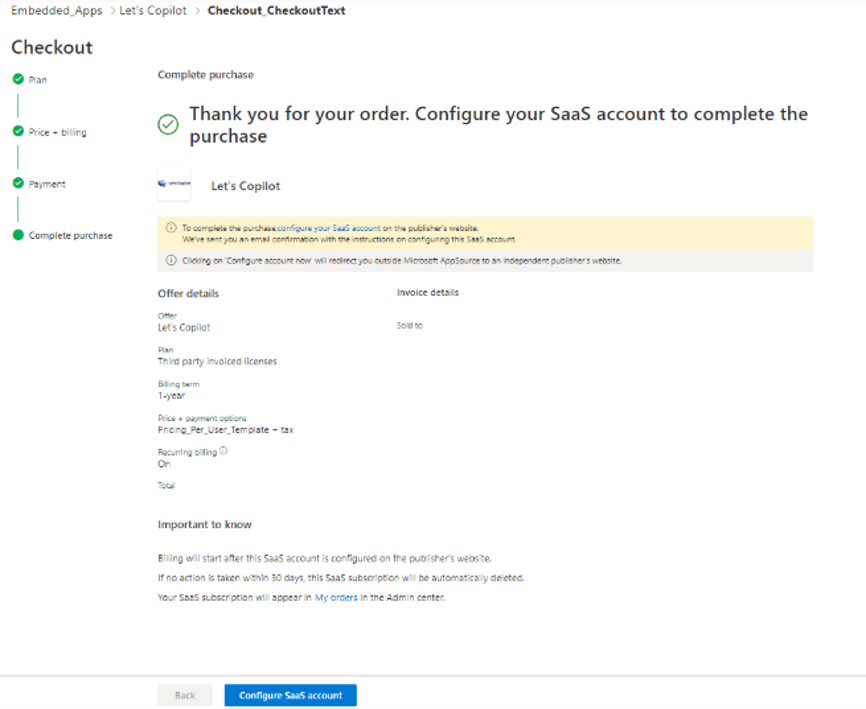
Step 5:
Once the order is placed, you will be asked to configure your SaaS account and are redirected to the Saas portal. If you lost the redirection you can acces the SaaS portal by following this link: SaaS Portal Landing Page
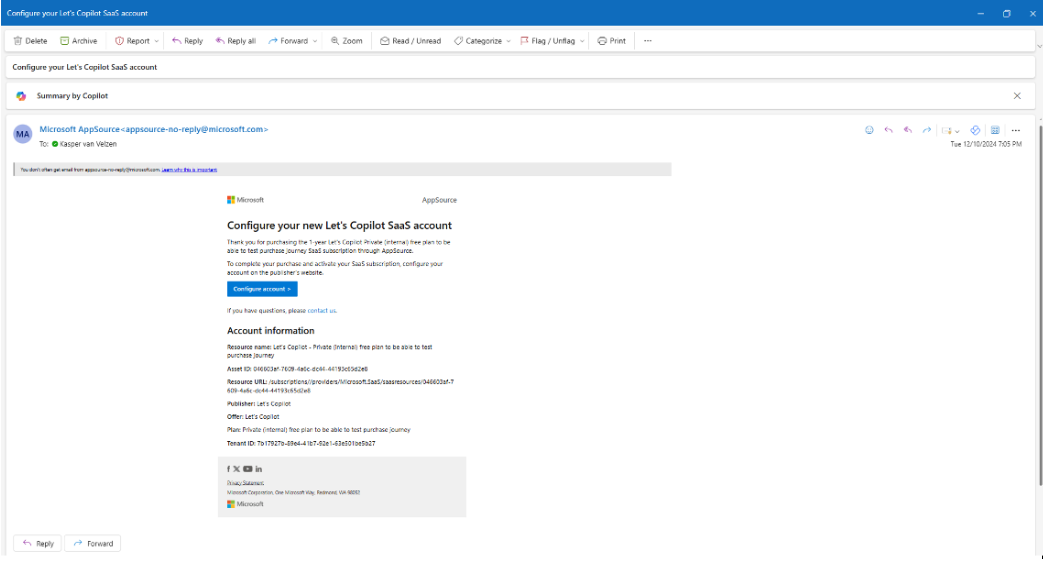
At the same time you will have received an email from Microsoft to configure your Let’s Copilot SaaS account. The email should look like this:
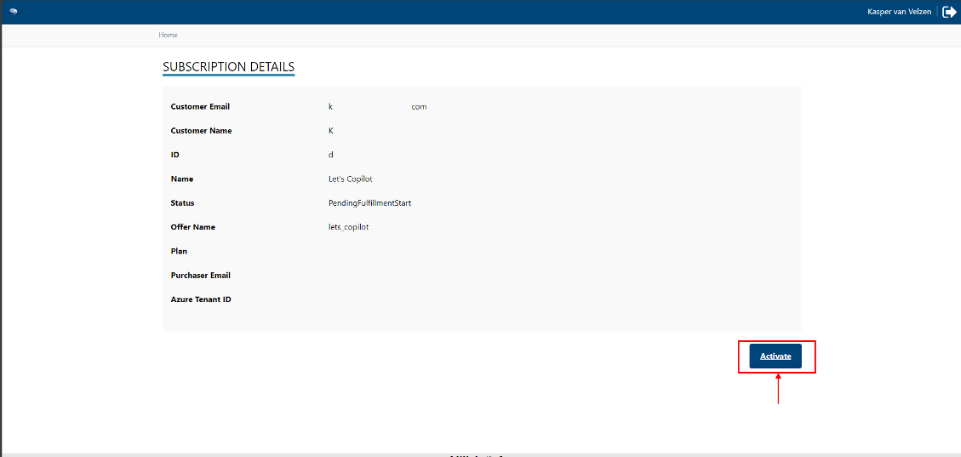
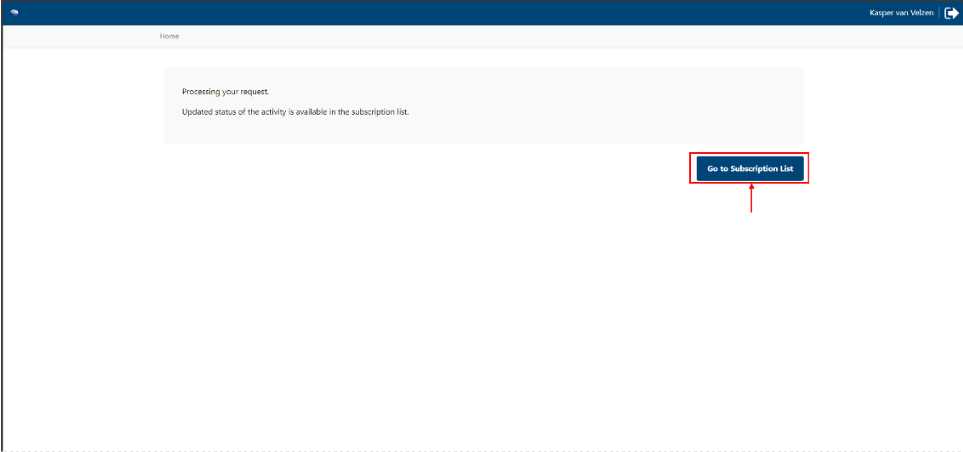
Step 6:
Once the redirection is followed through the Saas portal. You will be able to activate and monitor your subscriptions.
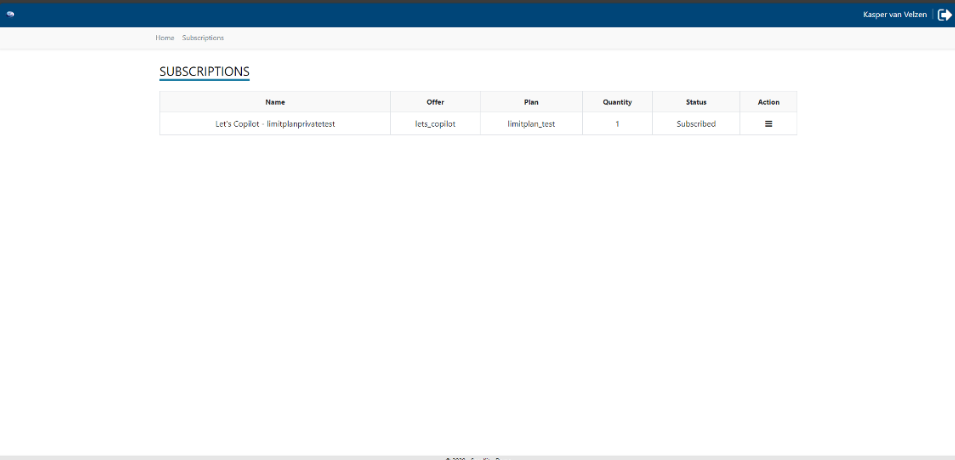
Step 7:
You’re purchase has now succeeded! Go back to your Microsoft Teams Application and open Let’s Copilot to start playing the game!

If you bought multiple subscriptions, for example for fellow colleagues, the following steps will explain how to assign (multiple) subscriptions to the right users.
Step 8:
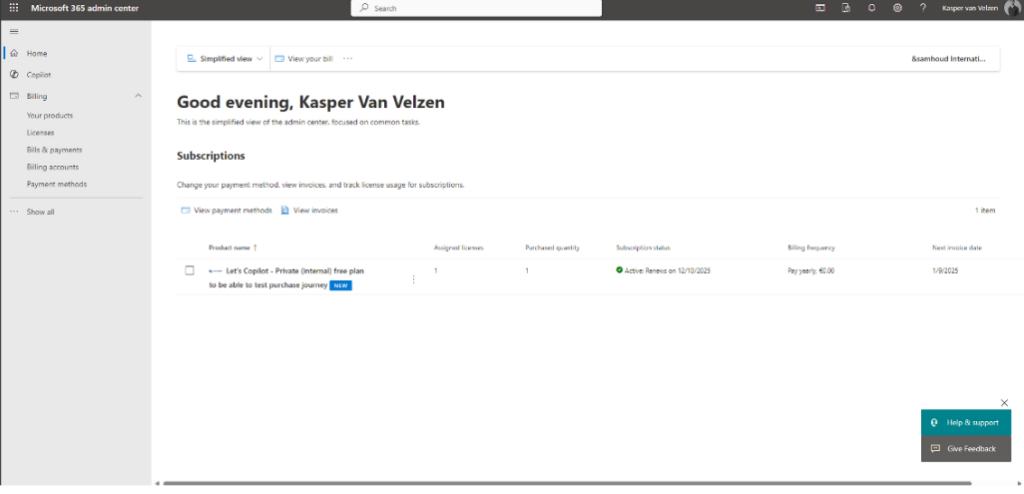
Your subscriptions are now activated and managed in your Miscrosoft Admin Portal. You can access this portal by using the following link: Home – Microsoft 365 admin center
The home page will show you your Let’s Copilot subscription.
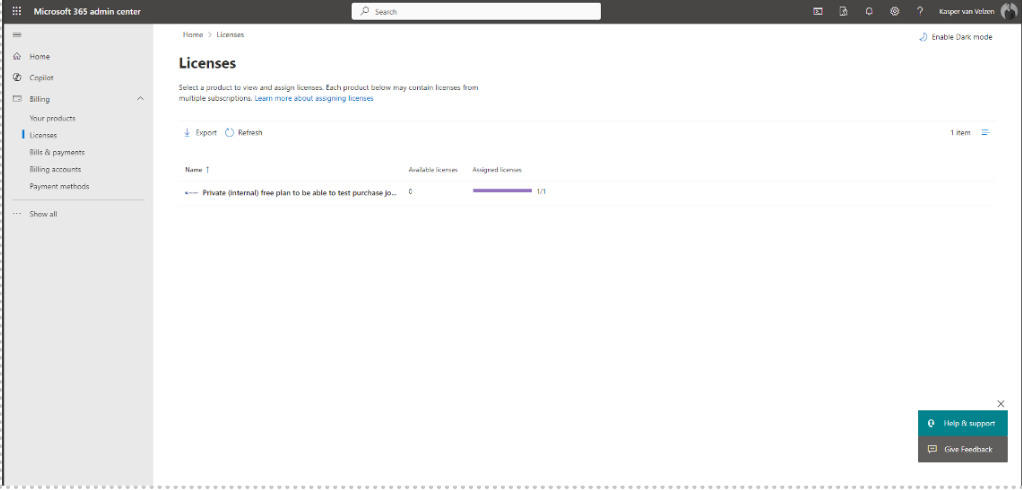
Once you click on the Let’s Copilot subscription, or you find the License tab in the menu on the left side of your screen, you will be able to see the amount of available licenses and assigned licenses.
In this screen you will now be able to assign and de-assign licenses to individual emails.
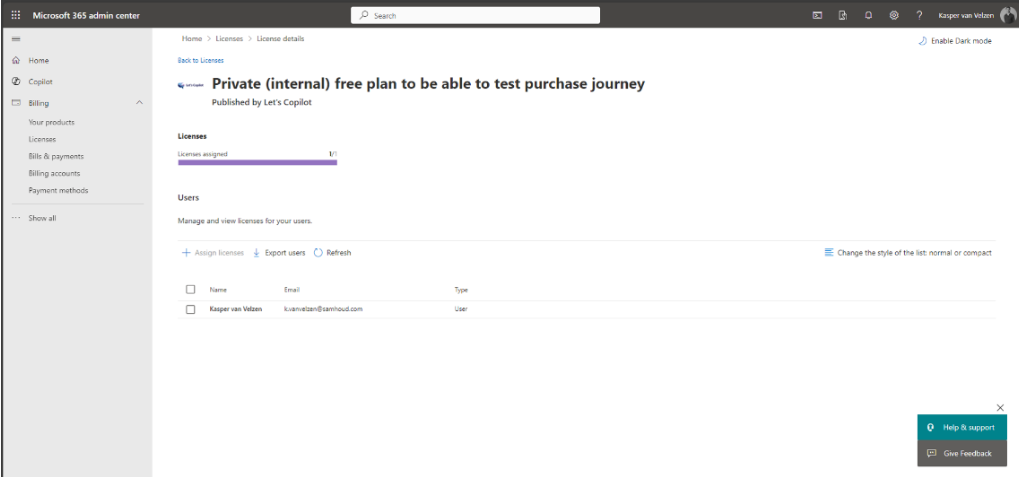
IMPORTANT: because there is no possibility to restrict the number of licenses distributed by each tenant, it is of the essence you only assign (buy) the number of licenses agreed upon with your distributer / partner. All additional distributed/assigned licenses will be charged in full.
Once assigned, Let’s Copilot will be available for the assigned players in the teams store! You can send them the following link to install Let’s Copilot! Let’s Copilot in Teams
Enjoy Let’s Copilot!
For the most frequently asked questions you can visit our webiste: FAQ – Let’s Copilot
You can also reach out at: Info@letscopilot.com